Manage a Solar Controller
Solar Controller Comments
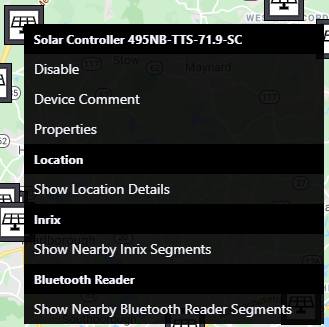
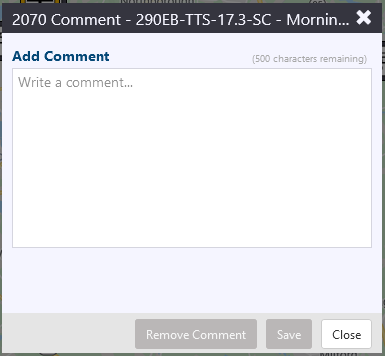
Select Device Comment to add a comment for the Solar Controller at the associated Site.
Solar Controller Properties
Select Properties to view the Solar Controller Properties window. Select Enable/Disable to Disable or Enable the solar controller.
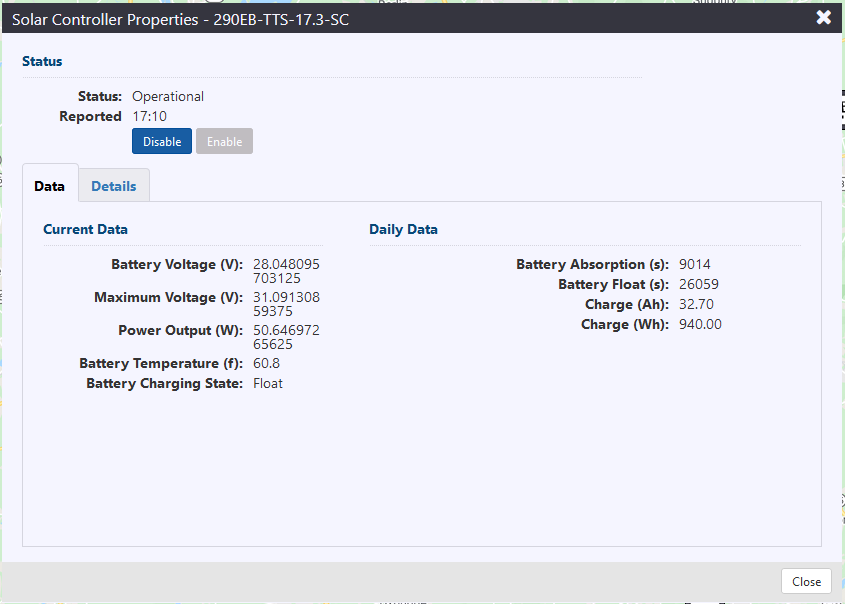
In the Solar Controller Properties window, the Data tab displays Current Data and Daily Data. Current Data shows the following information, representing device data from the most recent heartbeat information:
- Battery Voltage (V): The current voltage level of the solar controller battery, in Volts.
- Maximum Voltage (V): The maximum voltage level of the solar controller battery, in Volts.
- Power Output (W): The current power output of the solar controller battery, in Watts.
- Battery Temperature (f): The current temperature of the solar controller battery, in degrees Fahrenheit.
- Battery Charging State: The current charging state of the solar controller battery.
Daily Data shows the following information, representing device data totals from the previous day:
- Battery Absorption (s): The total time in seconds that the Solar Controller's battery was in the Absorption charge state.
- Battery Float (s): The total time in seconds that the Solar Controller's battery was in the Float charge state.
- Charge (Ah): The total battery charge level in Amp-Hours.
- Charge (Wh): The total battery charge level in Watt-Hours.
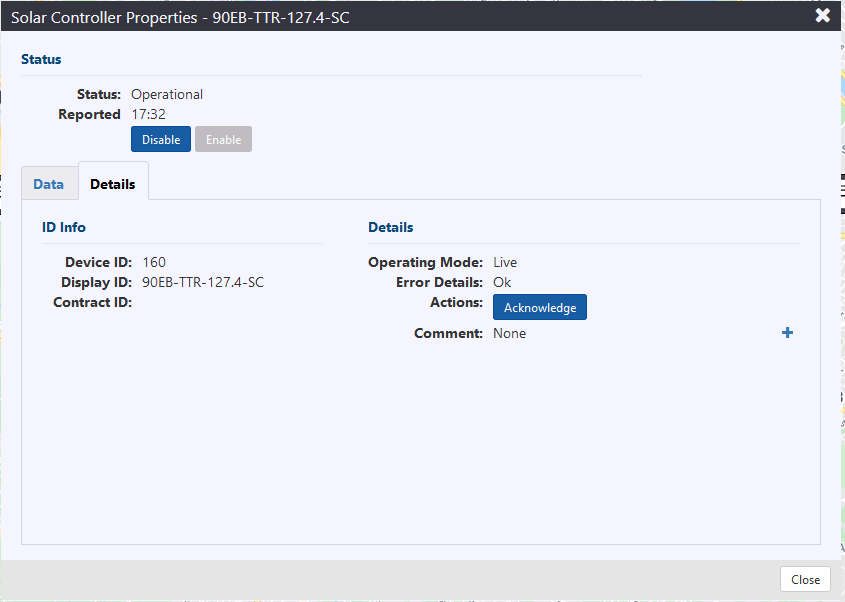
In the Solar Controller Properties window, the Details tab displays:
- Device ID: The ATMS system's ID number for the site's associated solar controller.
- Display ID: The location name of the site, followed by '-SC'
- Contract ID: The contract number associated with the device.
- Operating Mode: This defines if the device is Simulated or Live in the ATMS system.
- Error Details: Any details pertaining to the solar controller's errors, if there are any. This will say 'OK' if there are no errors.
- Actions: Select Acknowledge to acknowledge any alarms associated with the Solar Controller.
- Comment: Any added comments are shown here. Select
to add a new comment.
- coordinates where the site is located.
Disable a Solar Controller
The Disable button can be found by right-clicking on the Solar Controller icon from the map, or through the Details button in the Solar Controller list.
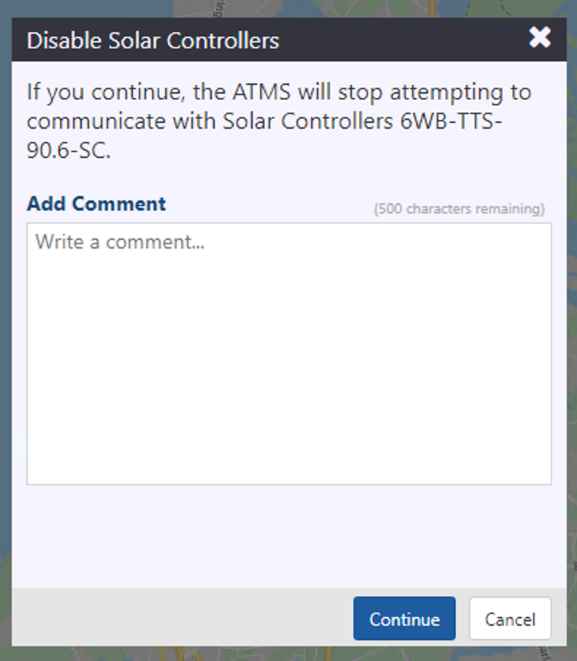
Clicking Disable opens the Disable Solar Controllers window, which provides a warning that the ATMS system will stop communicating with the Solar Controller if the user continues.
There is space to add a comment providing why the user is disabling the Solar Controller.
Clicking Continue will confirm and disable, while clicking Cancel will close the window without disabling.
Once disabled, the Solar Controller icon will be greyed out.
Enable a Solar Controller
When a Solar Controller is disabled, the Enable button appears where Disable would normally appear. This is found by right-clicking a Solar Controller or by clicking the Details button through the Solar Controller list window.
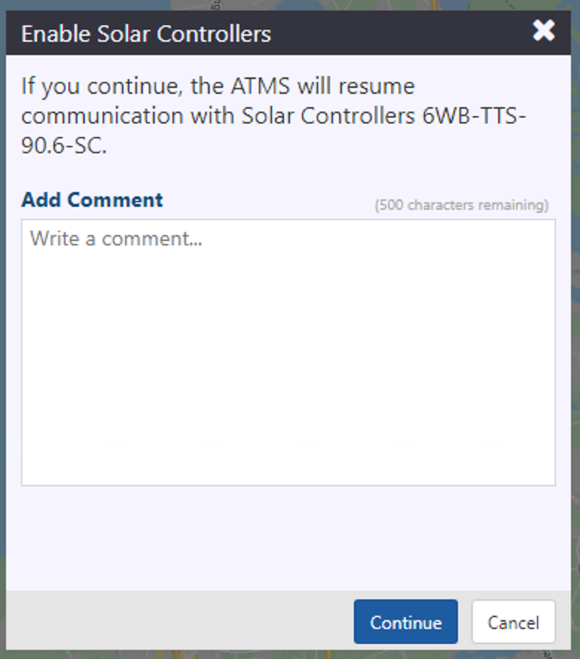
Click Enable to enable a disabled Solar Controller, then the Enable Solar Controllers window will open. The window provides a warning that enabling the device will cause the ATMS to resume communication with the Solar Controller.
There is space to add a comment providing why the user is enabling the Solar Controller.
Clicking Continue will confirm and enable, while clicking Cancel will close the window without enabling.
Once enabled, the Solar Controller icon will no longer be greyed out.
